What to Do at your next Aura Photo Session
In all honesty, you really do not need to do anything special for your aura photo session, but occasionally, I get asked this question. As an overthinker, I could not believe that I had never thought to ask this question myself. If I recall correctly, I was worried if I had something in my teeth and that my aura colors would be awful when I did my first aura photo session as a client. I prepared a simple, easy-peasy checklist below. I am looking forward to seeing you soon.
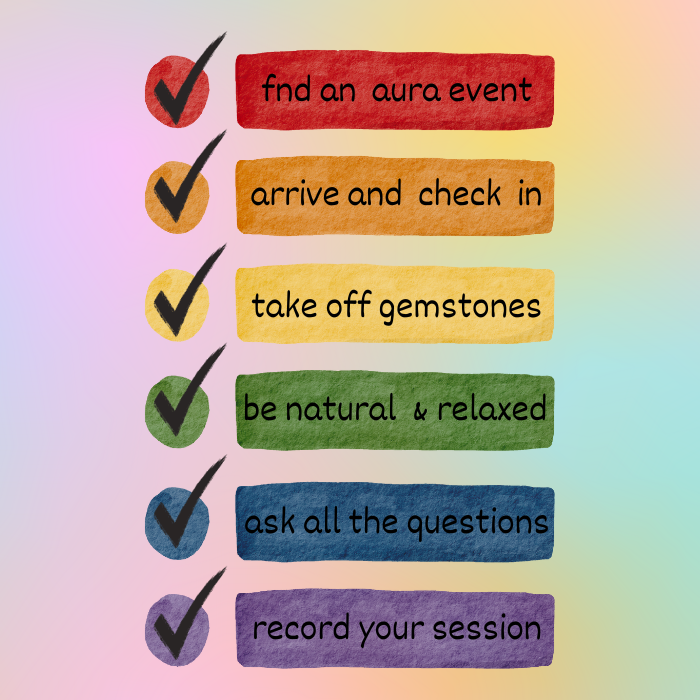
- Find an aura photo event near you or possibly book a private aura party. I am based out of Knoxville, Tennessee, but I am consistently in Louisville, Kentucky and Bristol, Virginia and everywhere in between.
- When you arrive at the event location, add your name to the sign-in clipboard usually located near the aura photo booth. Most of my events are walk-in only and are first come, first serve, but occasionally, an appointment will be necessary, and if so, that will be clearly stated within the event post.
- Remove all gemstones from your person. Gemstones can manipulate your electromagnetic energy, which is what we measure to determine your aura colors. By removing them, we can ensure that what we capture is your authentic aura.
- Be natural and relaxed! Remember to breathe during the actual session. Just breathe normally and do not tense up or over-think. During your session, I will need you to place your left hand on a hand sensor for 1-2 minutes while I capture your aura. You can pose however you would like during your session. Most will just do the traditional looking forward portrait headshot, but get creative if you would like–it is your photo. You do not need to stay silent or completely still the entire time your hand is on the sensor. I will warn you just before I snap the actual photo. After I print your photo, we will go over everything that I have observed. Other than that, there is not much to it.
- Ask any and all questions. No question is insignificant. Again, this is your aura photo session. I will send you home with a handout with a very basic outline of the most common aura colors and what the placement of the color means. I will spend about 5 minutes interpreting your aura photo after it prints.
- Record your session on your phone in order to have a reference. I dump a lot of information in just a few minutes and there is no way that you will accurately remember every single detail. It may also help to compare any future aura photos to either see your progress or how your life journey has shaped you.
If you have any other questions before your session, please use the contact form to do so.